Create Turbonomic Targets
In this section you will open the Turbonomic Target configuration
🚀 STEP: Turbonomic Target configuration
In this section you will open the Turbonomic Target configuration
Click on the Turbonomic button to go to the overview

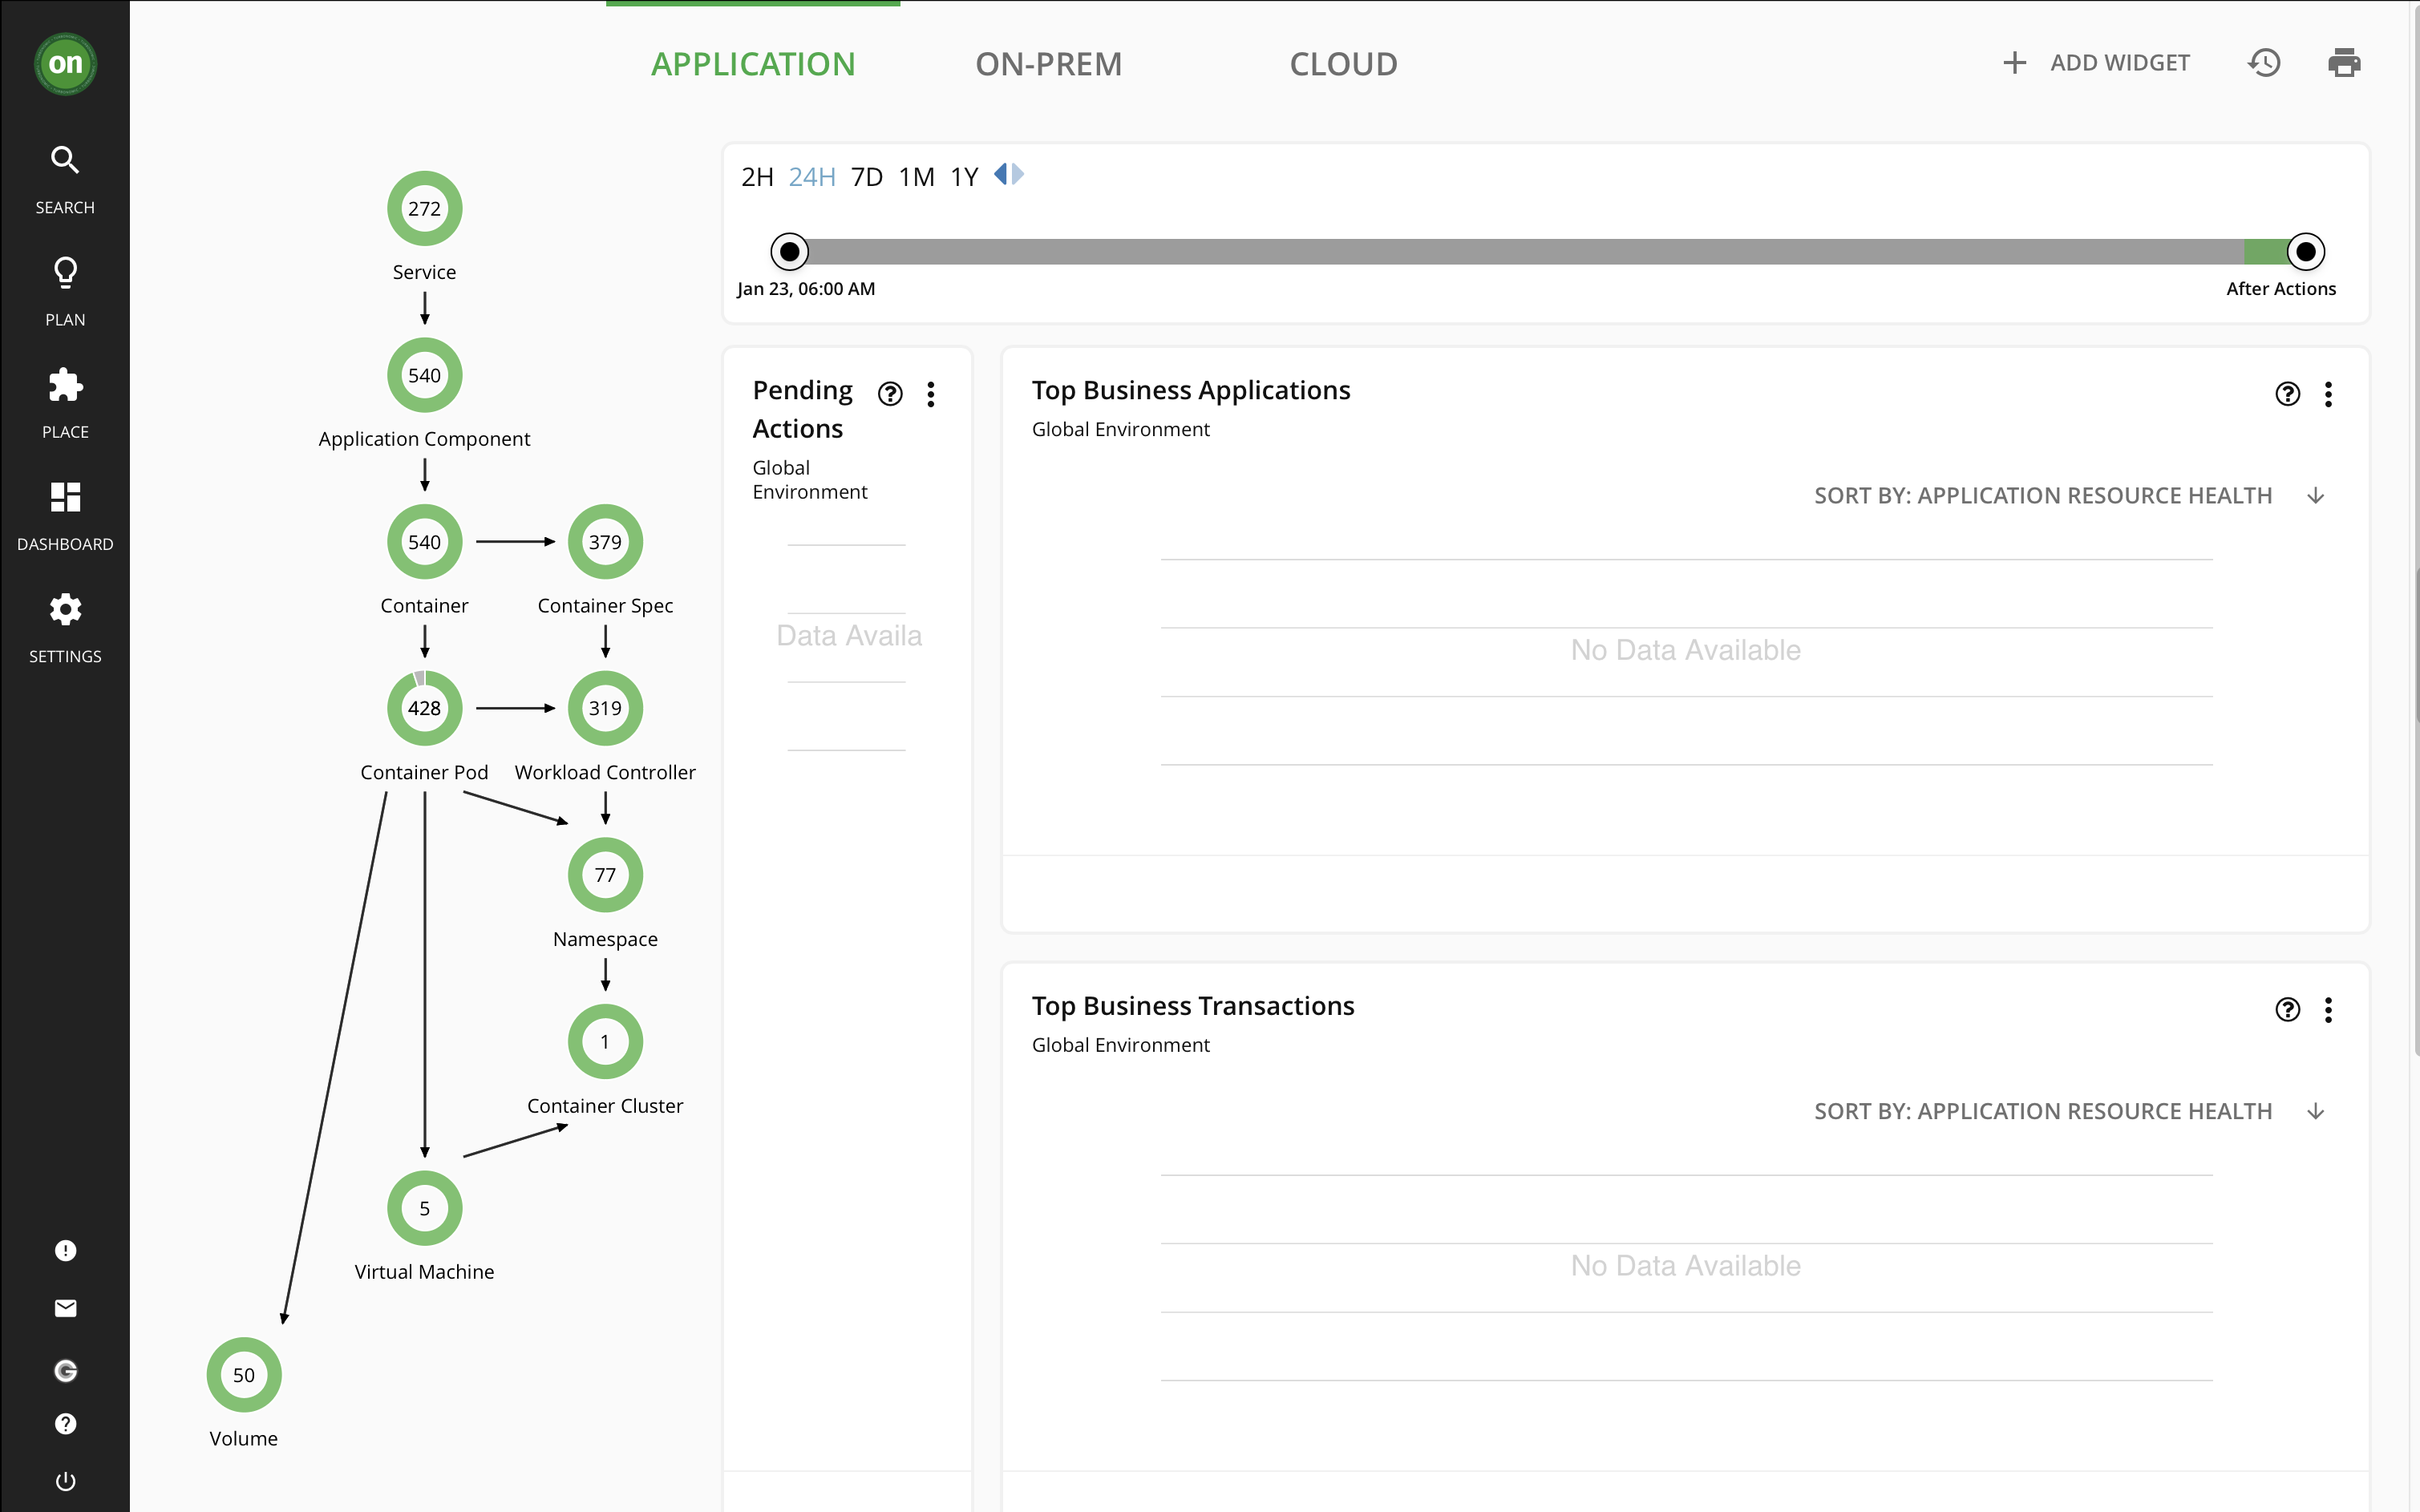
You will see the Turbonomic Homepage
Click on
Settings
Click on
Target Configuration
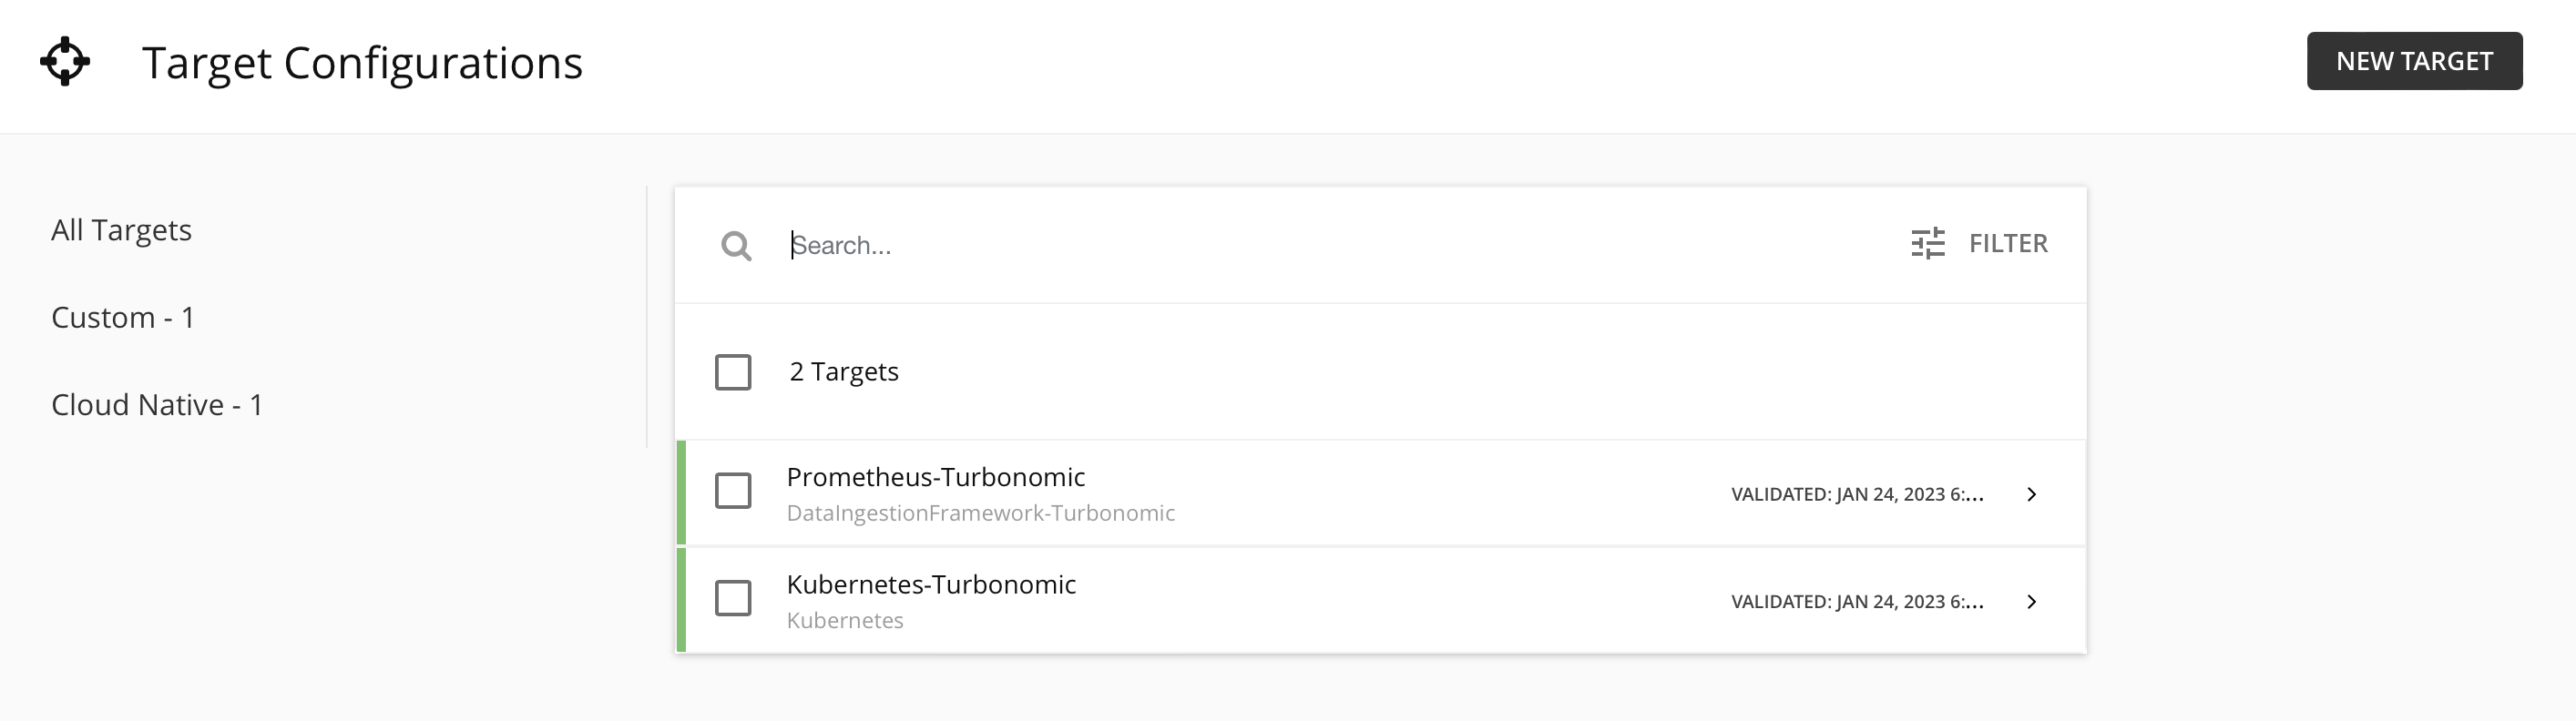
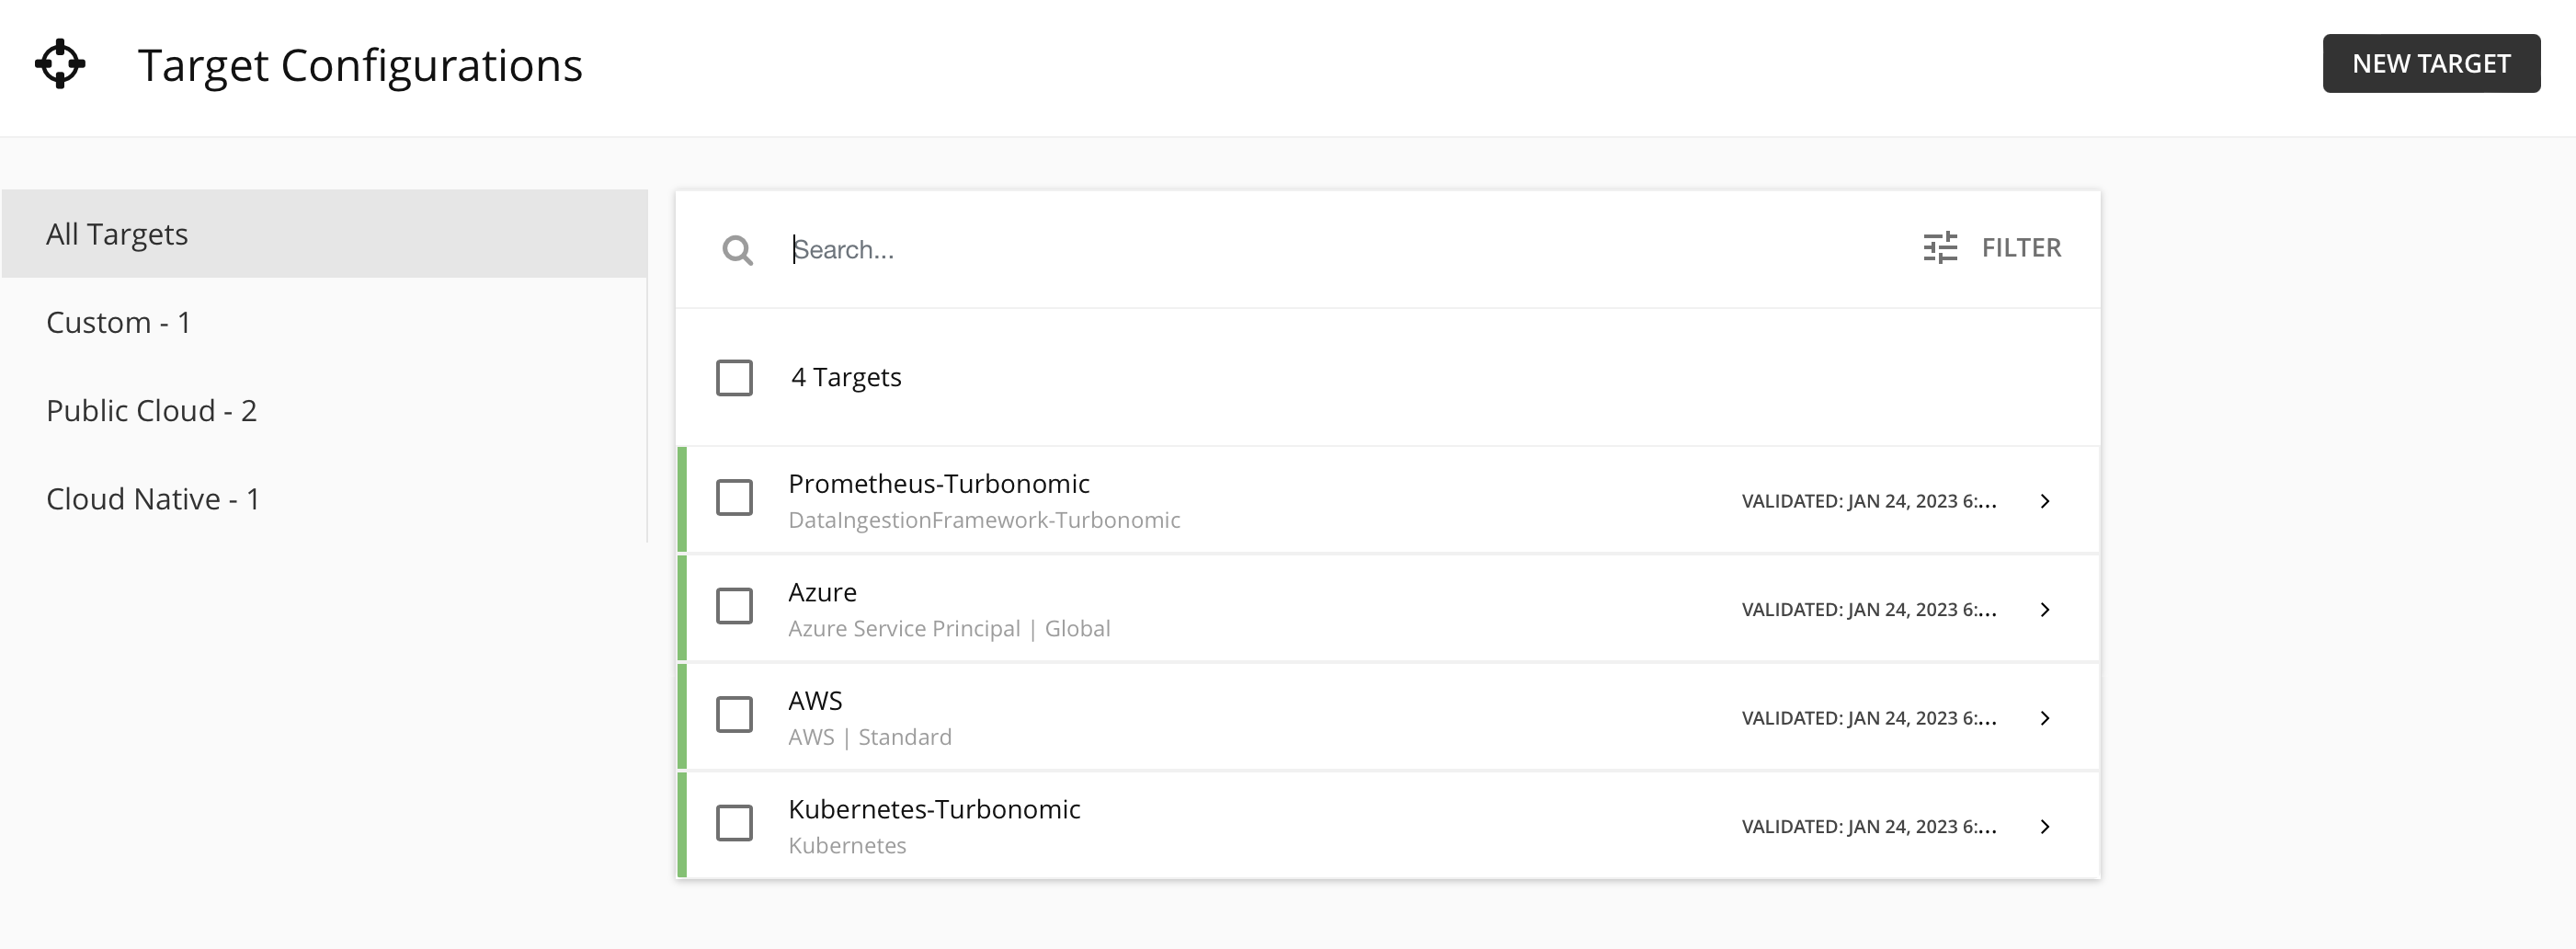
You will see the list of already existing Targets
🚀 STEP: Get the Target Credetials
If you are not following this as part of an IBM training course, you will have access to some demo credentials to get you started via the Training Activation Portal.
- 🚀 Training Activation Portal
Go to the following page:
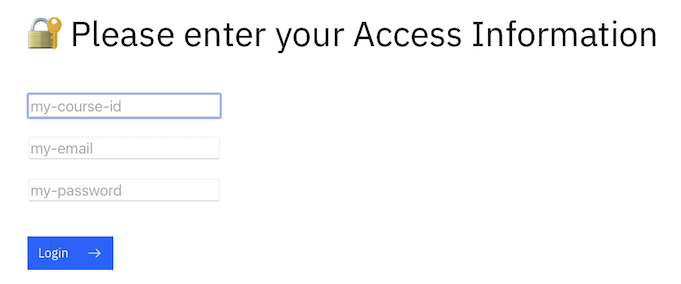
Login with the Access Information provided by the Course Trainer:
- Course ID
- EMail Address
- Course Password
Click on the orange
Additonal Info for TrainingbuttonKeep this information page open for the next steps.
🚀 STEP: Create AWS Target Configuration
In this section you will create a Target for AWS
Click on
New Target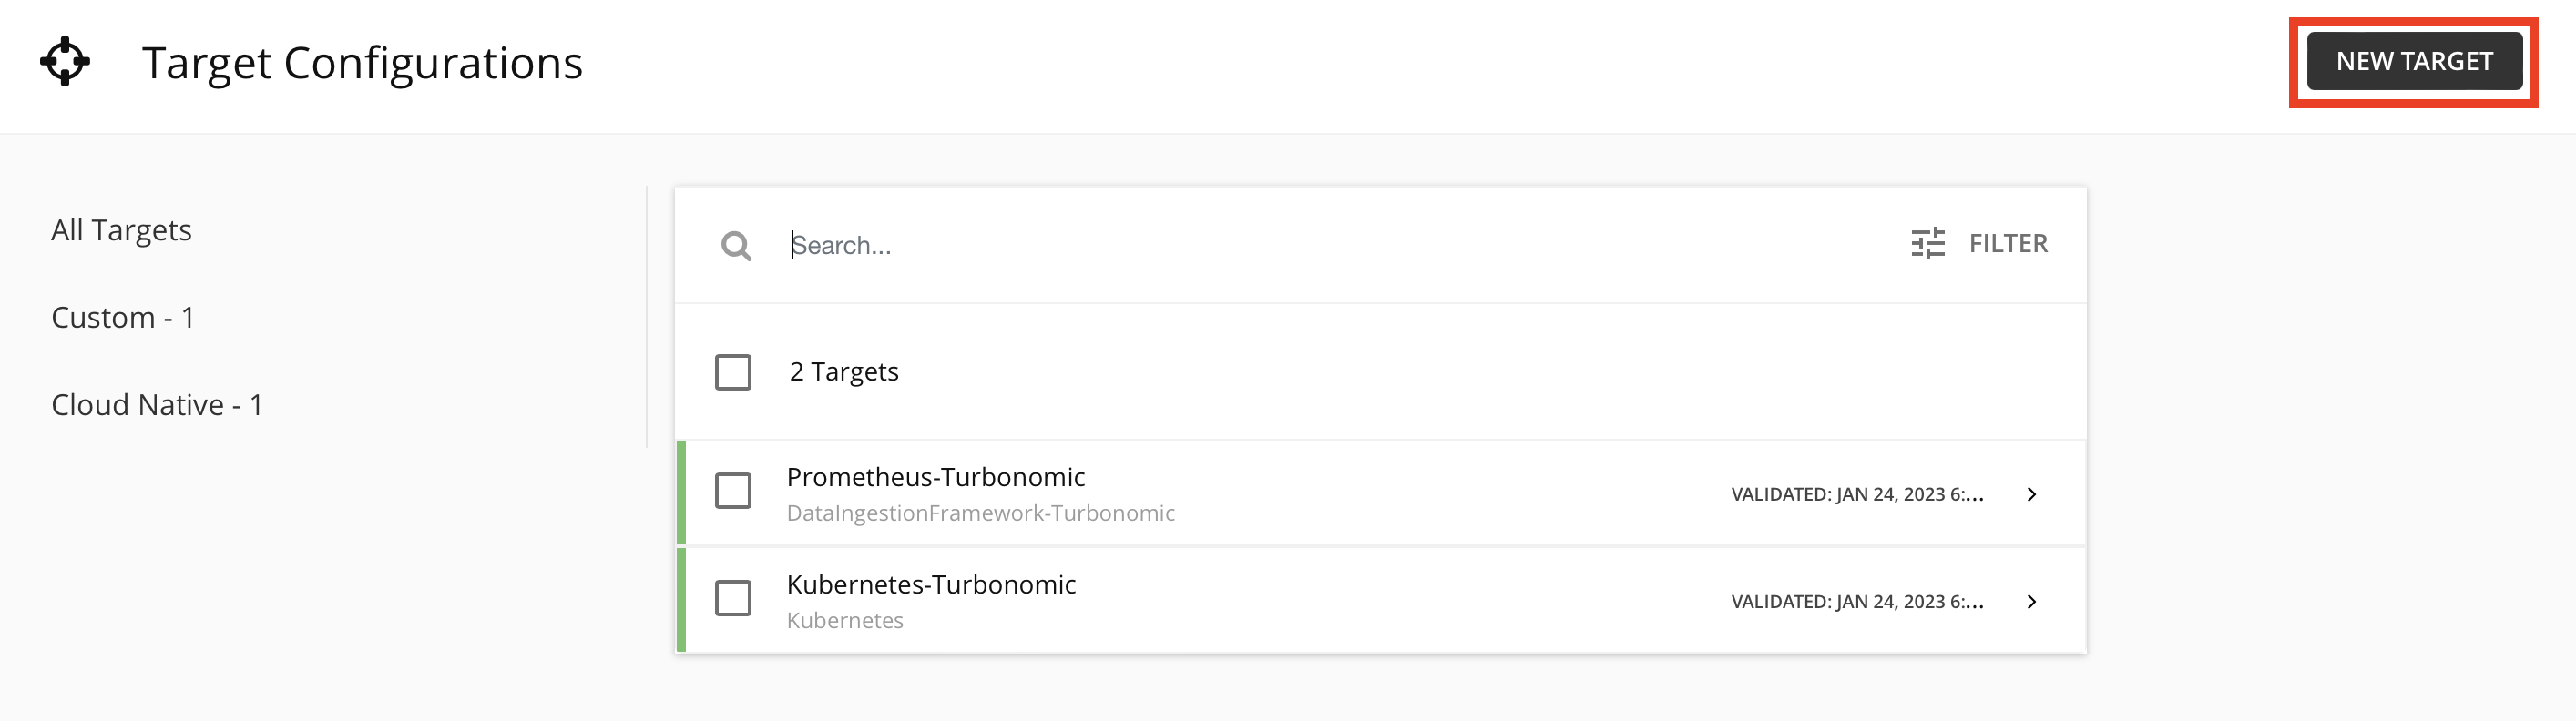
Click on
Public CloudClick on
AWS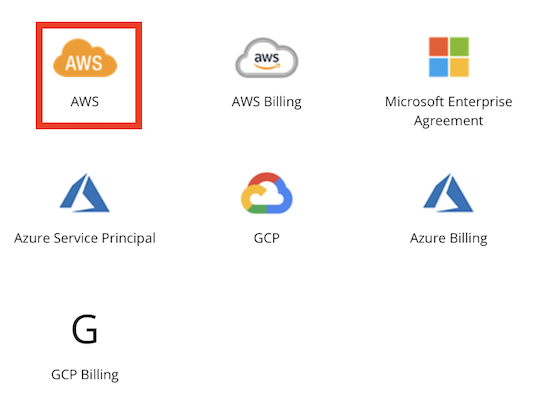
Fill-in the Credentials provided by the Instructor or Activation Portal (Access key and Secret access key)
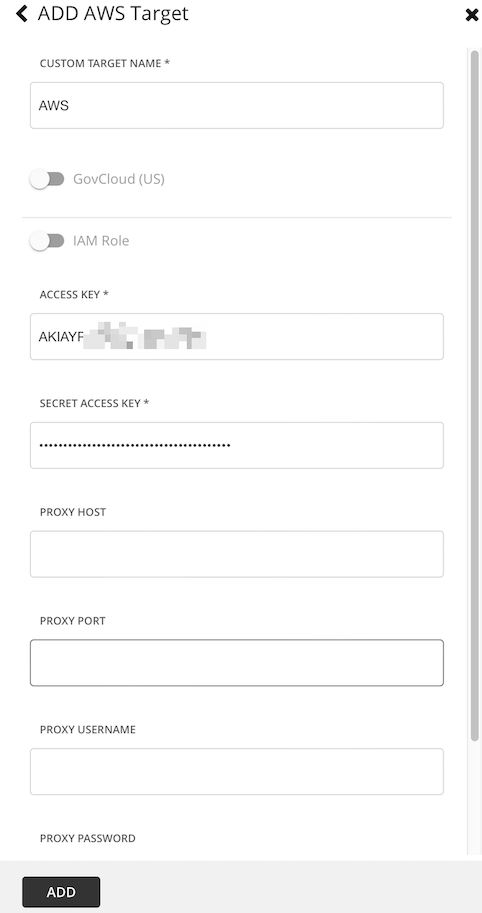
Click on
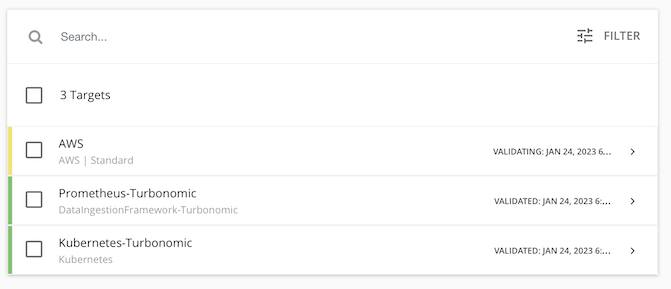
AddYou shoudld see the AWS Target validating
🚀 STEP: Create Azure Target Configuration
Proceed as you did for the AWS Target.
Click on
New TargetClick on
Public CloudClick on
AzureFill-in the Credentials provided by the Instructor or Activation Portal (DIRECTORY (TENANT) ID, APPLICATION (CLIENT) ID and CLIENT SECRET KEY)
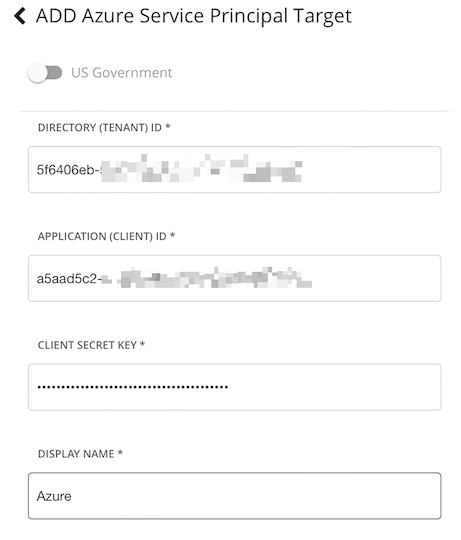
Click on
AddYou should see the Azure Target validating
After a while you should see all targets as validated (green)
🚀 STEP: Create vCenter Target Configuration
Proceed as you did before.
Click on
New TargetClick on `Hypervisor
Click on
vCenterFill-in the Credentials provided by the Instructor or Activation Portal (ADDRESS, USERNAME, PASSWORD)

Click on
AddYou should see the vCenter Target validating
After a while you should see all targets as validated (green)