Lab 2: Docker Basics
Create your first Image

Let’s create our first image (the k8sdemo-backend image) from this Dockerfile:
FROM node:8-stretch

# Change working directory
WORKDIR "/app"

# Update packages and install dependency packages for services
RUN apt-get update \
 && apt-get dist-upgrade -y \
 && apt-get clean \
 && echo 'Finished installing dependencies'

# Install npm production packages
COPY package.json /app/
RUN cd /app; npm install --production

COPY . /app

ENV NODE_ENV production
ENV BACKEND_MESSAGE HelloWorld

ENV PORT 3000

EXPOSE 3000

CMD ["npm", "start"]
cd ~/training/demo-app/k8sdemo_backend

docker build -t k8sdemo-backend:lab .

> Sending build context to Docker daemon  6.975MB
> Step 1/11 : FROM node:8-stretch
>  ---> 7a9afc16a57f
> Step 2/11 : WORKDIR "/app"
>  ---> Using cache
>  ---> a2515f8a3ec5
...
> Step 11/11 : CMD ["npm", "start"]
>  ---> Using cache
>  ---> b9b0f3fea9f7
> Successfully built b9b0f3fea9f7
> Successfully tagged k8sdemo-backend:lab
Run your first Image
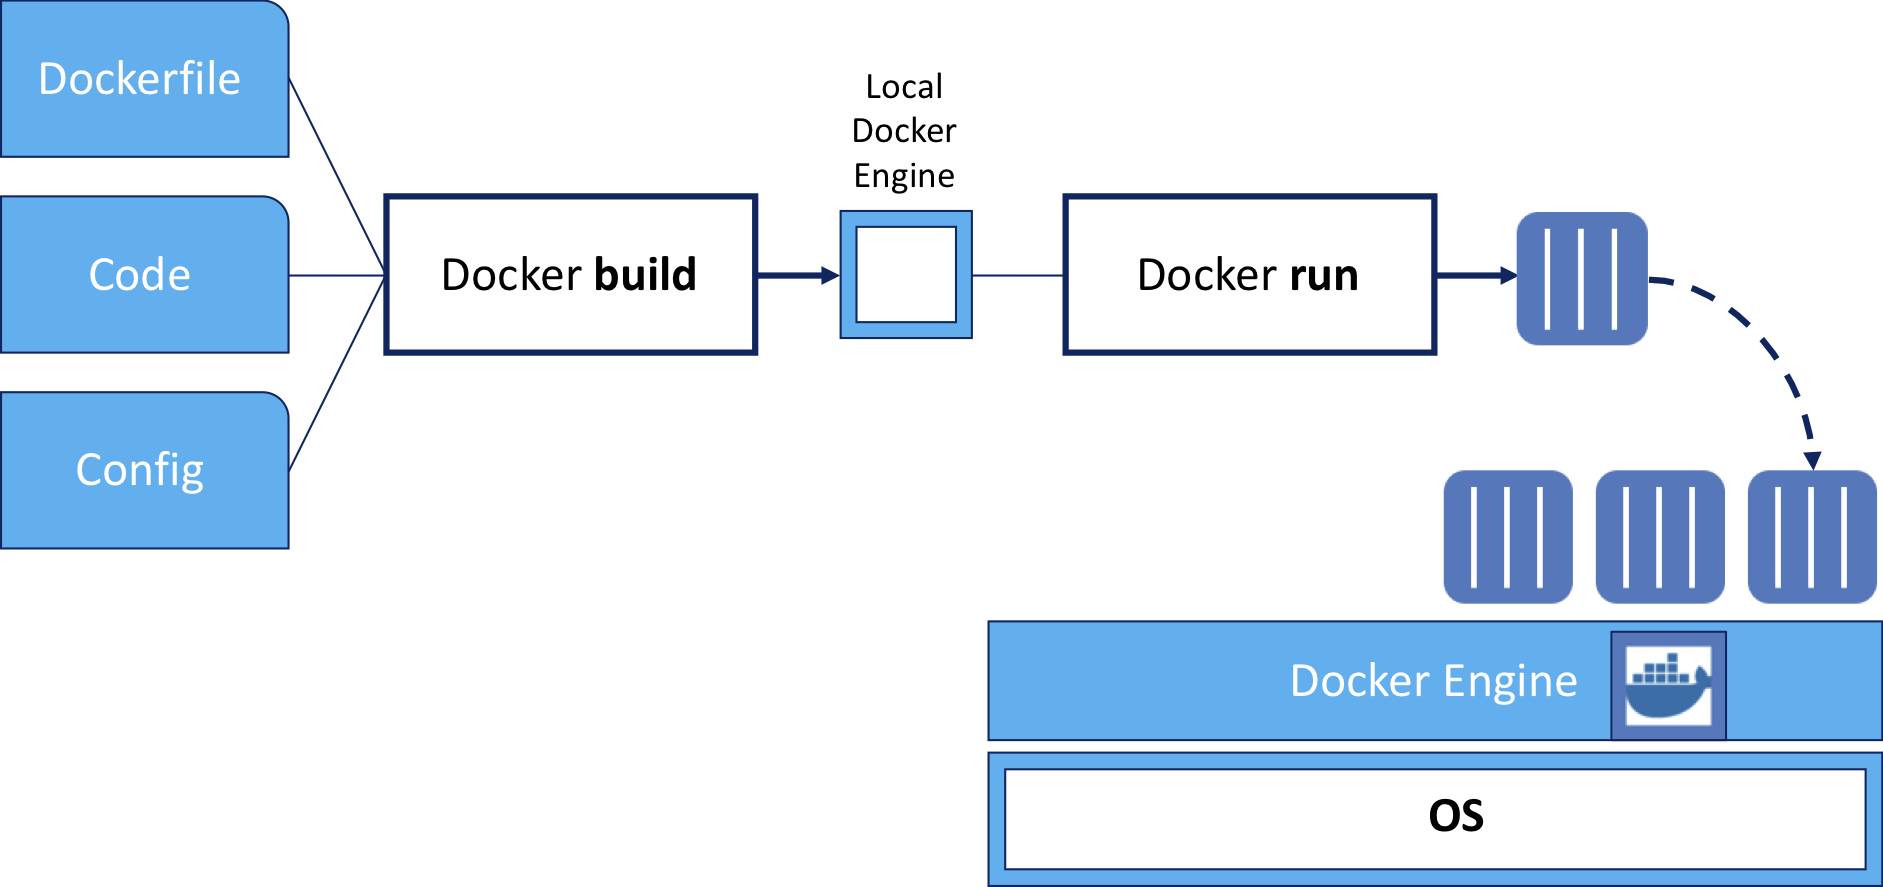
docker run --rm --name k8sdemo-backend -p 3001:3000 k8sdemo-backend:lab

> test@0.0.0 start /app
> node ./bin/www
This command runs the backend server:
- –rm makes sure that the container is deleted once it’s stopped
- –name gives the container a fixed name (otherwise you get some pretty funny, automatically generated names - think drunken-weasel)
- -p exposes the container port 3000 to the outside port 3001 (we do this so that it does not conflict with port 3000 of the k8sdemo web application we will start later)
- k8sdemo-backend:lab is the image we created before
Hint Lab2_RunYourFirstImage
No hint available
Complete Lab2_RunYourFirstImage
Confirm Lab2_RunYourFirstImage complete
Task Lab2_UsePortainer
Use Portainer
Portainer Community Edition is a powerful, open-source management toolset that allows you to easily build, manage and maintain Docker environments.
-
Open URL or use the Portainer Bookmark
-
Login in with
admin/passw0rd(already prefilled) -
Select
localfor our Endpoint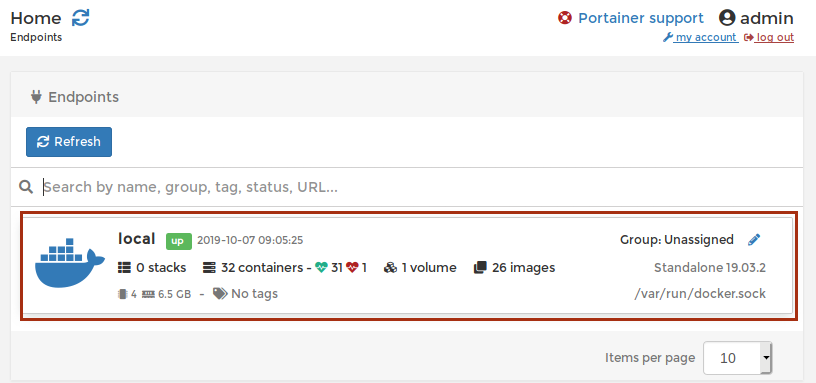
Now you get an overview of your local Docker instance.
-
Select
Containers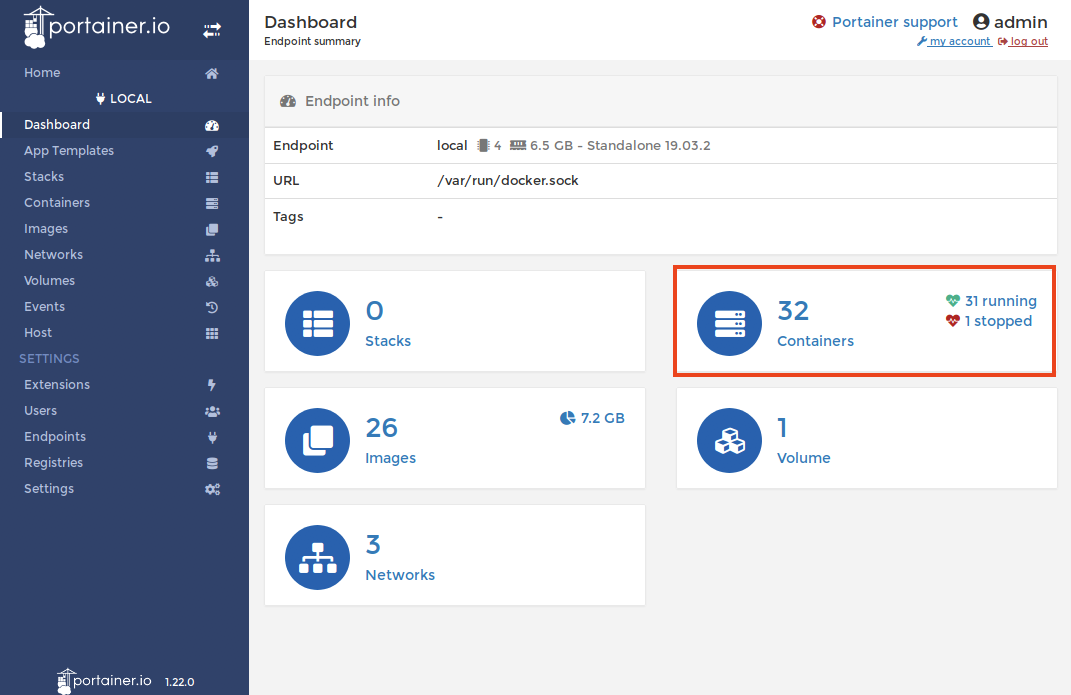
-
You get a list of all running containers and you can see our
k8sdemo-backendcontainer running.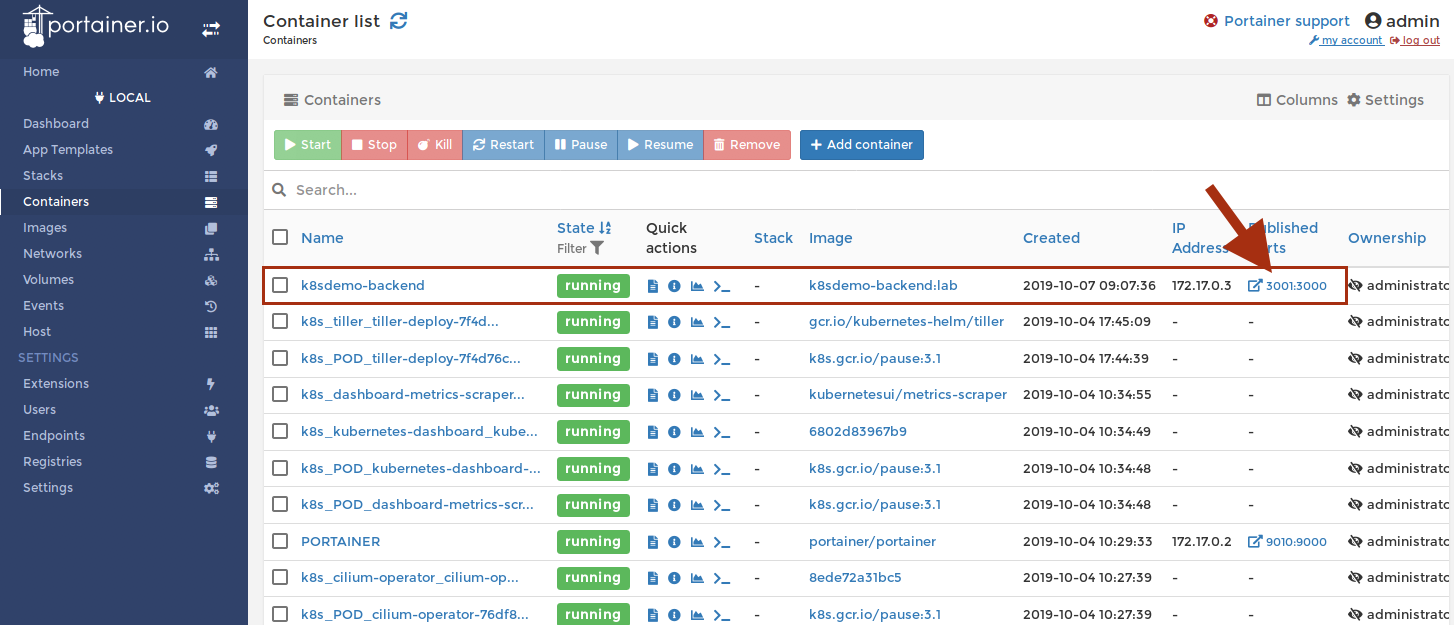
-
Click on the PublishedPorts 3001:3000 to open the backend web interface.
-
In your terminal you will see that this generated some traffic:
docker run --rm --name k8sdemo-backend -p 3001:3000 k8sdemo-backend:lab

> test@0.0.0 start /app
> node ./bin/www

> GET / 304 225.805 ms - -
> GET /stylesheets/style.css 304 2.175 ms - -
``
-
Stop the container by hitting
CTRL-Cin the terminal (several times if needed)
** So now we have tested our backend component. **
Create the frontend Image
Let’s create our first image (the k8sdemo frontend image) from this Dockerfile:
FROM node:8-stretch

# Change working directory
WORKDIR "/app"

# Update packages and install dependency packages for services
RUN apt-get update \
 && apt-get dist-upgrade -y \
 && apt-get clean \
 && echo 'Finished installing dependencies'

# Install npm production packages
COPY package.json /app/
RUN cd /app; npm install --production

COPY . /app

ENV NODE_ENV production
ENV BACKEND_URL https://api.nasa.gov/planetary/apod\?api_key\=DEMO_KEY
ENV PORT 3000

EXPOSE 3000

CMD ["npm", "start"]
cd ~/training/demo-app/k8sdemo

docker build -t k8sdemo:lab .

> Sending build context to Docker daemon  13.23MB
> Step 1/11 : FROM node:8-stretch
>  ---> 7a9afc16a57f
> Step 2/11 : WORKDIR "/app"
>  ---> Using cache
>  ---> a2515f8a3ec5
...
> Step 11/11 : CMD ["npm", "start"]
>  ---> Using cache
>  ---> 5293cb32d1f6
> Successfully built 5293cb32d1f6
> Successfully tagged k8sdemo:lab
Run the frontend Image
-
First let’s run the backend container again, but this time in the background
docker run --rm -d --name k8sdemo-backend -p 3001:3000 k8sdemo-backend:lab

> 444b0570058b97f0532ef89c92963bb7da6aa1f2d3e27bf8c989da5fb8277fe0
``
This command runs the backend server:
- -d runs the container in the background (as a daemon)
-
Then we start the new Web Frontend container
docker run --rm --name k8sdemo -p 3000:3000 --env BACKEND_URL=http://172.17.0.1:3001/api k8sdemo:lab

> test@0.0.0 start /app
> node ./bin/www
``
This command runs the frontend server:
- –rm makes sure that the container is deleted once it’s stopped
- –name gives the container a fixed name
- –env defines the environment variable that points to the
k8sdemo-backendserver API - -p exposes the container port 3000 to the outside port 3000
- k8sdemo:lab is the image we created before
-
Go back to Portainer and refresh the browser

-
Click on the PublishedPorts 3000:3000 for
k8sdemoto open the web interface. -
Refresh several times and check in the terminal that some traffic is being generated
GET / 304 6.314 ms - -
GET /public/bootstrap.min.css 304 0.975 ms - -
GET /public/bootstrap-theme.min.css 304 0.843 ms - -
GET /public/stylesheets/style.css 304 2.568 ms - -
GET /public/images/ibm_cloud.png 304 0.522 ms - -
GET /public/images/cloud_private.png 304 1.057 ms - -
GET /public/images/back.png 304 0.411 ms - -
The value of BACKEND_URL is: http://k8sdemo-backend
Error: getaddrinfo ENOTFOUND k8sdemo-backend k8sdemo-backend:80
- Stop the container by hitting
CTRL-Cin the terminal
Push the frontend Image to the registry
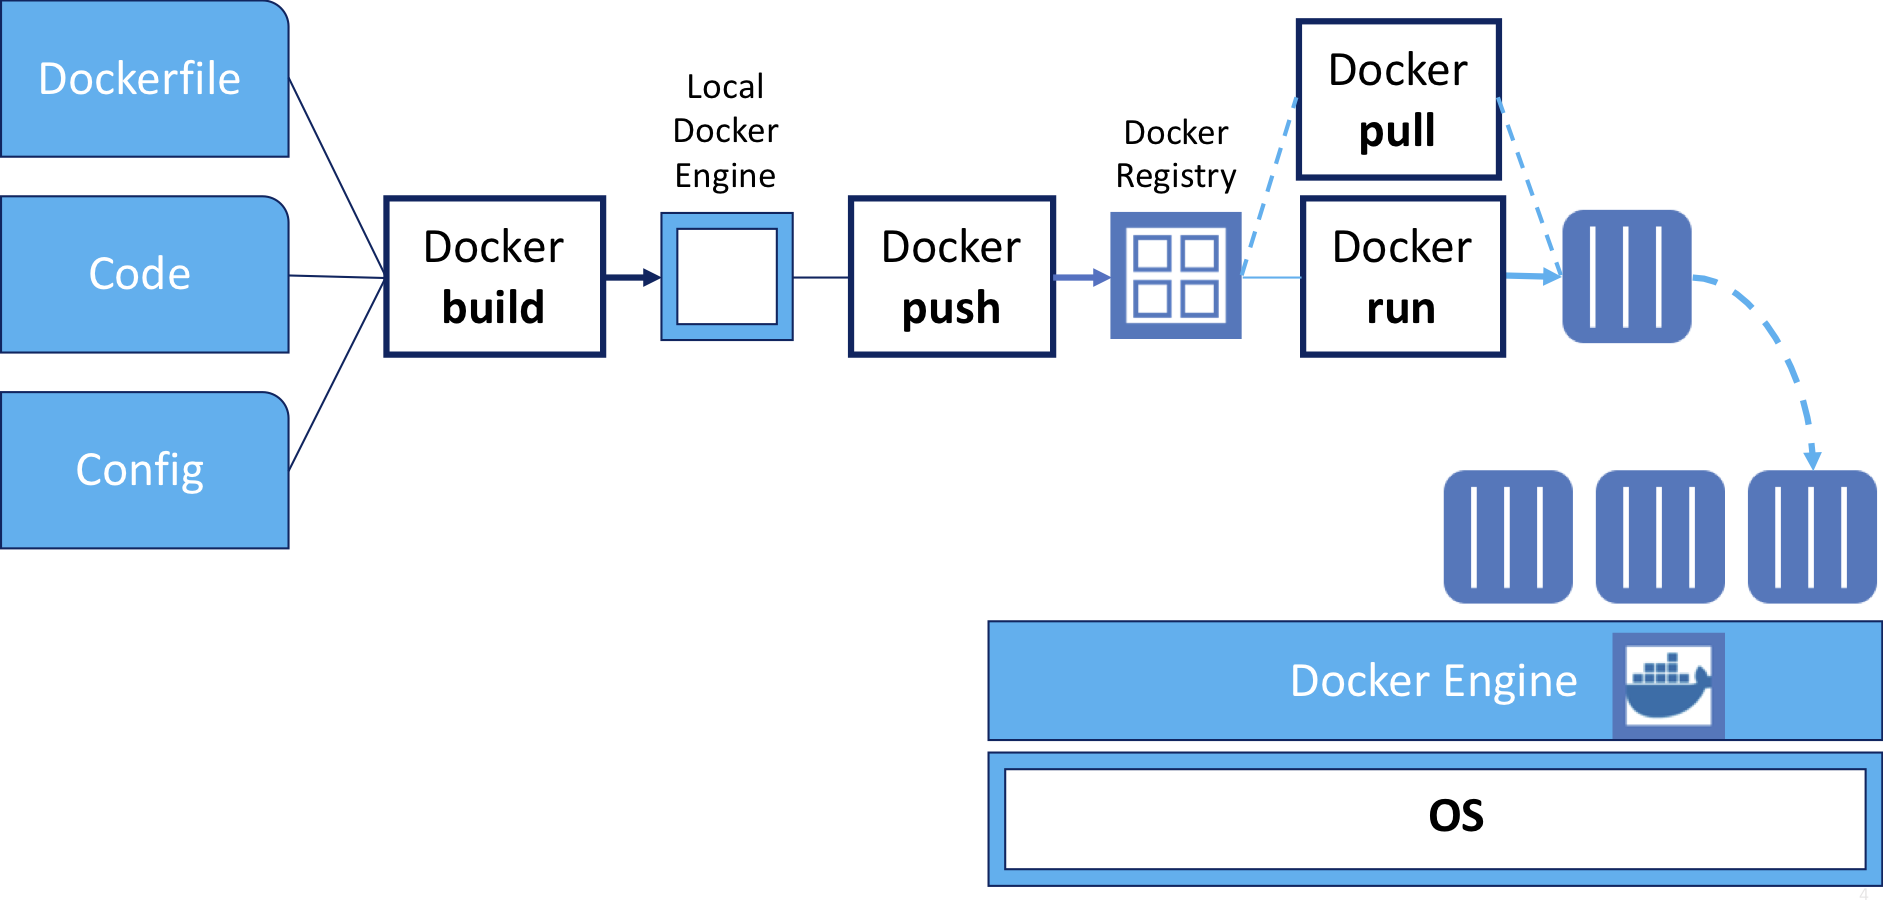
-
Let’s tag the image with the address of the local Docker registry (localhost:5000).
docker tag k8sdemo:lab localhost:5000/k8sdemo:lab``
-
Expose the local Docker registry.
First execute this in order to be able to access the private registry:
kubectl port-forward --namespace kube-system $(kubectl get po -n kube-system | grep kube-registry-v0 | \awk '{print $1;}') 5000:5000 > /dev/null&``
This exposes the Docker Registry to the Terminal we are using.
If you don’t get a command line prompt, press
enterseveral times -
And now push the image to the local registry:
docker push localhost:5000/k8sdemo:lab``
Messages like Handling connection for 5000 and Retrying in x seconds are due to the Lab setup and can be ignored.
Now the image is available to be aquired (pulled) from any machine that has access to the Docker registry.
Run the frontend Image from the registry
-
Now let’s start the Web Frontend container with the image from the registry
docker run -d --rm --name k8sdemo -p 3000:3000 --env BACKEND_URL=http://172.17.0.1:3001/api localhost:5000/k8sdemo:lab

> b6e46d8bd60978af7e9e45260111e938da63a64247c9cff3b4e398a6498670a6
``
This command runs the frontend server:
- –rm makes sure that the container is deleted once it’s stopped
- –name gives the container a fixed name
- –env defines the environment variable that points to the
k8sdemo-backendserver API - -p exposes the container port 3000 to the outside port 3000
- -d runs the container in the background (as a daemon)
- localhost:5000/k8sdemo:lab is the image we have pushed to the registry before
- Go back to your browser and refresh the
k8sdemoweb application to make sure that the container has been started.